The roof is coming…so excited

Spread the love

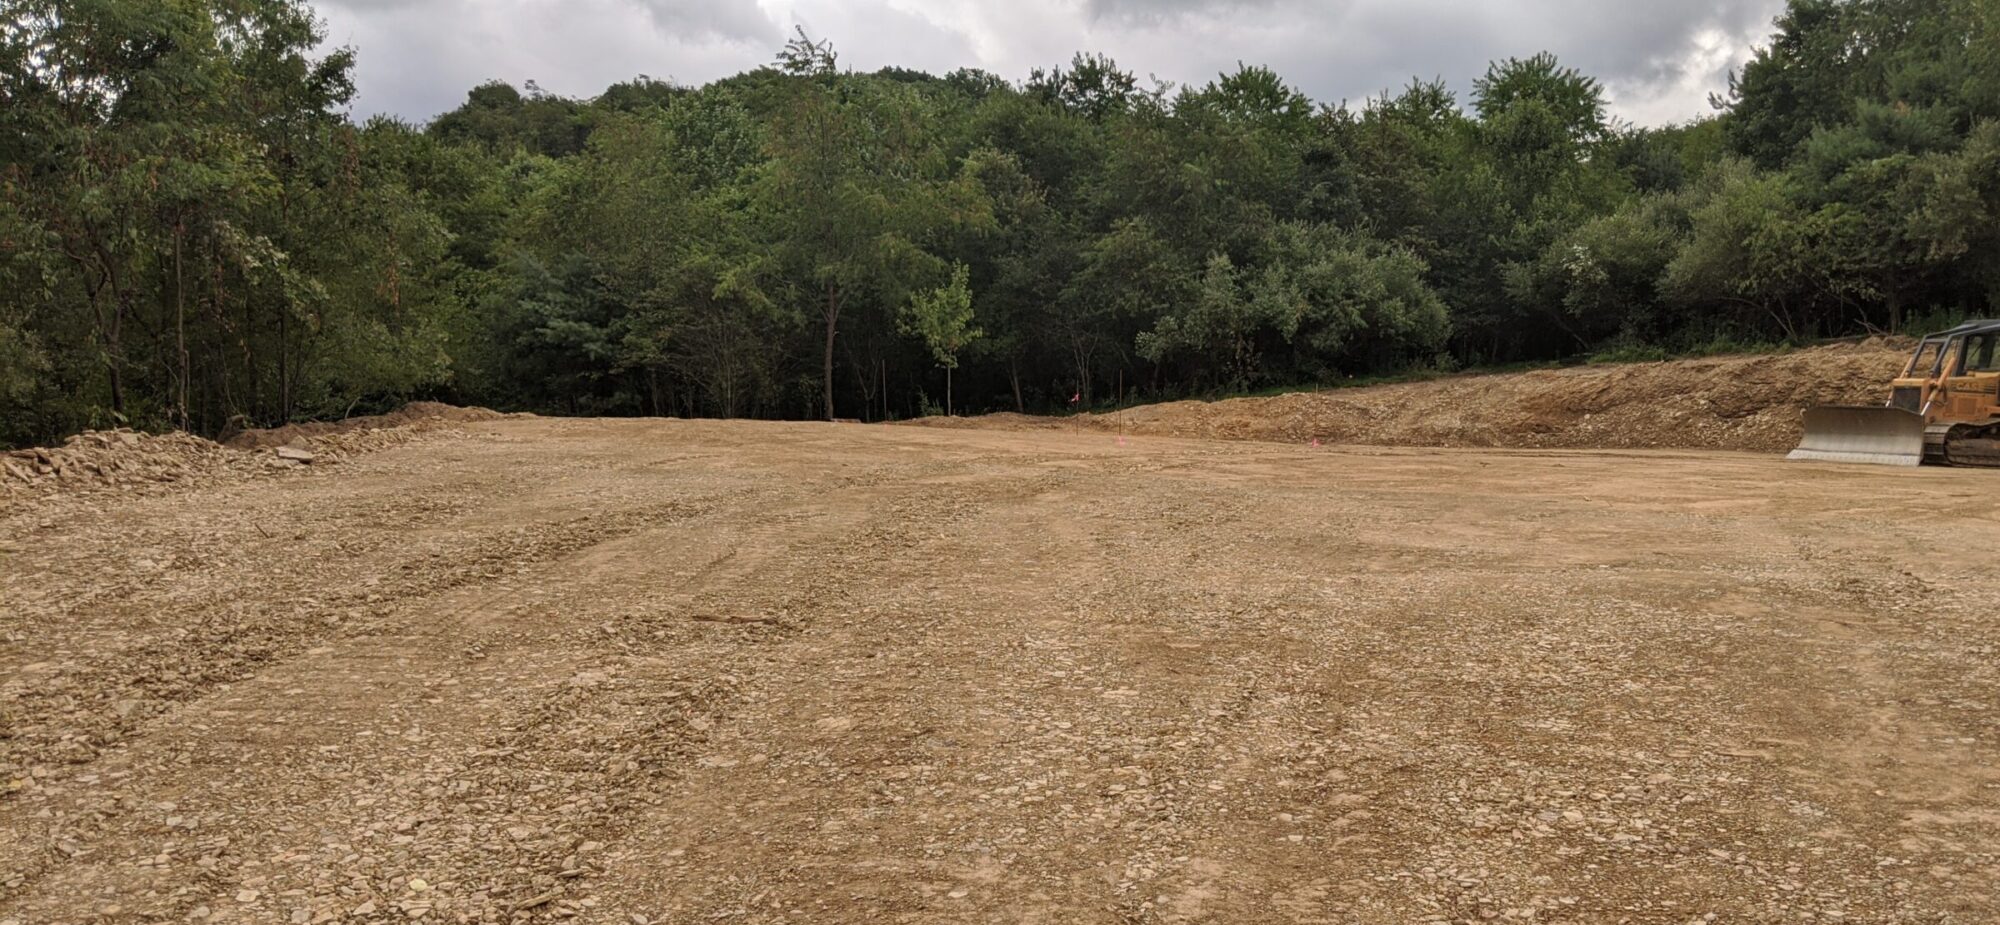
There has been lots of activity over the past couple weeks, but since nothing has reached a completion state, it has been a bit hard to keep tabs on all of the things being worked on. Here is a sample of activity for the past 2 weeks:

  • Eaves built out on the A-wing
  • Electrical completed for the C-wing, with us doing some DIY electrical in the garage
  • Rough sawn lumber we picked up for drying. Maple for our trim and Oak for our bathroom vanities. They are now on stickers for drying in our garage.
  • A-wing exterior roof insulation installed
  • C-wing interior insulation installed
  • Burton’s worked on first phase of receptacle prep
  • Mini-split installed in C-wing

Some of the items above are more exciting looking than others, while some have been a huge help, like electrical in the C-wing. Now our temporary line from our shipping containers can power the garage and the house without needing extension cords (yeah!). Since the garage has been the central place for working out of, having power there is very helpful.

Here are some shots of the insulation and eaves as those are the most exciting to look at. A question you might ask while you look at them is, “Why are they doing that?” I’ll try to answer that and some other questions below.

Let’s see if I can answer any of those questions you might have come up with:

  • What’s that stuff on the roof?
    • The insulation is called Rockwool and comes in 2’x4′ sheets. We used multi-layers so they could be overlapped to prevent any air gaps. The layers total 6” in thickness and you can find more about the insulation material here. This will link you directly to the Rockwool Comfortboard 110 that we used for our roof.
  • Why do you have wood on the roof and why is it diagonal?
    • This is a great question and might be worthy of a dedicated post, but I’ll summarize. The wood is standard 2×4 lumber and screwed through the insulation and into the trusses below with long 9” timber screws. These boards hold down the insulation, create a mounting location for the metal roofing material, creates an air gap under the metal to promote airflow needed for drying, and provide one of the mounting locations for the eave fascia boards. They are diagonal to reduce the amount of lumber needed to provide insulation support as well as metal cladding attachment.
  • Why aren’t your eaves extended from your trusses like most houses?
    • One of our primary design principals is air tightness. Having all of the trusses protrude out of the roof creates large number of large air barrier penetrations that are very hard to seal and remain sealed, so we avoided them completely by putting the eaves on the outside of the building. It also eliminates MANY thermal bridges that would have been created with rafters. This did take a great deal of thought and design effort to support 3′ eaves on the North and South of the A-wing and 2′ eaves in all other locations.
  • Why did you work so hard to make eaves, don’t most houses now not have them?
    • I would agree that many houses no longer have eaves and this seems to be for cost or cosmetic reasons, but I’m not sure. Eaves are the walls strongest defense against the rain. Eaves are like an umbrella for the house and should not be taken lightly. The best way to prevent a wall from leaking is to minimize the water that is in contact with it.
Maple and Oak before placing on stickers

The wood above was so heavy, we had to take a couple trips to get it all. We have it stacked inside the garage and drying with fans. I’ll be testing moisture content every week.

We had an internet outage last week as well (not good when you need that for work). I had a bad feeling as things had been going so well throughout the build, so I went down to the shipping container to investigate.

“Larry” turned off the power

He found his way into the main battery system and pulled a wire out that powered the 12V devices, like the internet router. This snake has made his way into the container a number of times through our solar wire hole, I’ve taken him out two other times, so now we’ve plugged the hole. Too funny.

Thanks for sticking it out to the end. Sorry for making this such a long one. I hope to not wait so long before the next post.

God’s grace is a gift.

Water and insulation

Spread the love

It’s typically a bad combination, water and insulation, but in our case we have had great progress with our water tanks and lines as well as interior insulation the past couple weeks.

Water lines have been dug from our tanks to our house. We hope to soon have our cistern installed and we can soon start collecting rainwater.

Tanks at the top of our hill
Water line trench between tanks and house
Water line T to the house after apartment

Below you can see exterior stem wall insulation with cement board on the outside to protect it. You can also see the rainwater lines attached to the outside.

South wall rainwater capture pipes

Now let’s take a look at the blown in cellulose interior insulation. Many have asked us questions about why we chose cellulose and the following properties helped make our decision:

  • Dense pack cellulose doesn’t settle
  • Fire resistant
  • Slow release of moisture in the event of water in the walls
  • Retains R-value when wet
  • 3.5lbs per cubic foot creates excellent sound reduction
  • 85% recycled material
  • More details here: https://www.greenfiber.com/homeowners/homeowner-benefits

Here is what our insulated walls looks like. The white material is insulation mesh that is stapled to the studs and holds the insulation in prior to drywall being installed.

South wall with insulation blown in

Here is a short video of the installer filling one of the wall cavities with cellulose:

Blowing in cellulose

That’s it for today.

Coming up next:

  • Back filling dirt around the house
  • Install of cistern next to house
  • Exterior insulation
  • Roofing and eaves

Tanks, Windows and Sand Mounds oh my!

Spread the love

Sorry for the “radio silence” and not posted for a few weeks. The weather has really been turning around and while we did have a bit of a lull during the electrical install week while the crew was working other jobs, the past 2 weeks have been very active.

First, the sand mound was created. This took 7 loads of sand (~126 tons) and lots of dirt from the site to get built. We now await the tanks, which are expected next week. Here are some photos of the install.

Trench out to sand mound
Land cleared, early-stage sand mound
Getting the sand mound level
Mound first phase, done

The first phase is the sand mound is to build up the sand, supported by dirt on the side, and cover in gravel. Next phase is laying down the pipes and connecting to the tanks, which we hope is completed next week, followed by inspection. The mound will then be finished off with more gravel and a foot of topsoil.

Next up in our crazy week was the install of our large 5,000 gal water tanks. These had to be taken a few hundred feet up our hill to be installed ~75ft higher in elevation then the house. This is where we will get our ~32 PSI of water pressure without the need for a pressure tank. I didn’t get as many photos, but I have some video.

Moving first tank to top of hill

Last fun update is that our window team arrived to correct a mistake. We ordered privacy glass for our bathroom windows, but they came with clear glass. This past week the privacy glass arrived and instead of throwing the clear glass out, we purchased additional frames and added two *new* windows to the C-wing apartment East wall. This lets beautiful morning sun into the main living space, but we installed the glass high to not sacrifice privacy. I’m so excited at how they turned out!

New C-wing east windows from outside
New C-wing windows from inside

That about does it for this update. Please note that lots of other things have been going on, but have been a bit harder to document, but maybe I’ll post about it in the future. Here are some other things that have been going on:

  • All exterior conduits finished. This means we were able to bring power into the house.
  • All grey and black water lines installed and buried
  • A & B wing electrical finished
  • Zehnder ERV was delivered!!! (we’ve been waiting months for this one)
  • Final water/air sealing details finished

Next week we hope to see:

  • Septic tanks installed
  • Water cistern installed
  • Water lines completed between tanks/house/cistern
  • Interior cellulose work started
  • Exterior stem wall and footer insulation completed and backfilled

That’s a lot, I know, but we’re hopeful.

Heated floors

Spread the love

The season is nearly over to appreciate heated floors, but it’s very timely since I just pulled the wires out of the floor mold they were buried in during the concrete pour to protect them. We chose to do something different with how and why we put in heated floors. Here are some of our thoughts and why it made complete sense for us to do what we did:

  • Using excess electricity to heat our floor while living off grid isn’t a great use of power.
  • We have a concrete floor for the whole main level, so the fear is that the floor will always feel a bit cold, even with the sun heating it during the day.
  • What ever will we do with all of the excess solar power that is generated when the batteries are charged in the winter?

Putting it all together, we have the ability to divert out excess solar power, but the most efficient way to do that is to send use it in its native voltage, straight from the panels. This is how we will be heating both our water and our floors, with 30V resistive heating. Thankfully we had enough forethought to put wires into the floor prior to the concrete pouring.

Alright, going to get a little nerdy here with Ohm’s Law, V=IR, voltage (V) = current(I) x resistance (R). Using this, we could calculate an optimal resistance needed to consume a safe amount of current while still fitting within the size of our floor. Lots of details later, we settled on a design that filled the main slab with 8 x 250ft wires. Yes, that is a lot of wire. It’s not a typical heat wire, rather it’s a standard copper conductor. We chose 18-gauge wire with silicone coating to handle higher heat. The wire is specified with 1.75 Ohms of resistance, thus using Ohms Law, we have I = V/R, or I = 30V/1.75 Ohms ~17A. So, with 18 wires, we could theoretically consume a maximum of 136A. That seems like a lot of power, but over such a large concrete floor, that heat will nicely dissipate to turn our slab into a huge thermal battery.

Here was the original floor wire layout within the slab:

In floor heating pattern A/B wing

Notice the excess wire on the left, this is to make sure we have leads for connecting to the source diversion. Here is what it looks like before the concrete gets poured:

Heat wire tied to wire mesh

Below are the wire leads that the team protected in the concrete that I pulled out this week.

In floor heating wire leads

Feel free to ask questions if you have any. The most common I’ve heard question I’ve heard has been around why resistive heating instead of typical tubes and liquid. The real easy answer I have to that is price, this is very low cost and with no moving parts, this heating method is the simplest to maintain (no effort).

We are still working through plumbing and electrical these past two weeks, but we should see some fun progress this next week digging exterior lines to water tank, sewer and between buildings.

Tubes tubes everywhere

Spread the love

Yes, we have tubes. A fun way to describe the recently installed ducting which will be bringing in fresh air and removing stale air 24 x 7. We had hoped to make some progress in other areas over the past 2 weeks, but our builder had some delays, so the focus for this post will be our fresh air ventilation install. We are still missing that actual unit due to long lead times, but we hope to have that the first week of May. Let’s get into the pictures.

North-East corner of utility room

Above you can see the main location for the ERV, which will be installed where that piece of cardboard is located. The large metal boxes are called manifolds and are used to distribute tubes/ducting. The two on the left are for return and the two on the right are supply. We have a balanced system, which means we will have the same amount of air coming in as going out. Due to the low flow rates (12-24 CFM) per vent, the system allows the supply and return vents to be exactly the same. This also looks nice due to consistency.

Large supply baffle

We have used a number of baffles to both tidy up the install as well as make a much better barrier for blown in ceiling insulation.

Main duct runs out of utility room
B-wing ducts

The B-wing duct shot shows the tubes inside the attic as well how it comes down the wall and feeds the master bedroom below. The picture is taken from the boys room.

Main bathroom return vent
Beautiful rainbow

While things seem to have slowed right when I expected them to pick up, this has caused me some stress as there is so much left to be done and keeping all of the tasks straight has been stressful with a full-time job. This rainbow was a great reminder to me that God has been and always will be in charge, so I just need to keep at it and not sweat the small stuff. Thanks God for the beautiful rainbow.

Up next (hopefully):

  • Electrical main panel install
  • Septic and water lines

Spring brings changes

Spread the love

Spring in PA is always fun with the warm 60+ degree temperatures one week and snow the next. It’s been nice to have the house sealed up so work could continue inside. Topics for today’s post:

  • Electric and plumbing progress
  • Change in windows for the apartment
  • Updated kitchen design for the apartment
  • Added some minor home automation
  • Initial blower door results

Electrical and plumbing. These are my estimates, based on what I see, but it looks like 90% of the B-wing electrical is complete for outlets, light switches, and subpanel. The A-wing also has the office, library, sitting room, and entryway completed. Looking forward to the install of the main panel as that will permit us to bring in our temporary power lead from 475ft away (currently on a pole in the front of the house). This will permit power testing in the building and activating outlets inside during the remaining construction.

B-wing subpanel

Plumbing has come a long way inside as well. The main bathrooms, kitchen, and laundry have been roughed in. This includes drains for the mini-split condensate lines and water line for the fridge/ice maker.

Upstairs bath main sinks
Laundry plumbing from kitchen wall

Alright, so what are the changes to the kitchen and windows to the apartment you might ask. Well, I can’t show a real picture of the window changes as it hasn’t happened yet, but due to a mistake by the window company, some additional glass needed to be ordered and we chose to purchase extra frames and add two small windows to the east wall of the apartment to let more light into the main living space. Here is a digital picture of what we will be seeing.

3D Render of East C-wing wall

The kitchen has always been a bit tight with wall space, but we had a breakthrough by adding an additional wall which fits everything we were hoping for: storage, sink, fridge, and dishwasher. The new wall was roughed in so plumbing could be installed. Here is a 3D rendering of our new layout.

C-wing kitchen layout

The automation piece was just a small thought to get some dehumidifying started. So, we have a remotely controlled and monitored outlet plugged into our site extension cord with our dehumidifier plugged in. We can turn it on/off remotely, but can also check the wattage to determine if the unit needs to have its reservoir emptied.

We have had our initial blower door test, this test was unofficial, but gave us great confidence in the air tightness so far. The house was placed under 50 pascals’ of pressure and the air leakage measured. For a Passive House we have to be under 0.6 ACH50, which means <= 0.6 air exchanges per hour under 50pa of pressure. We were 0.27! This was more than double what was needed and we had some leaks that got missed, so that was a very exciting result.

Alright, that’s enough for this update. Next we hope to have:

  • HVAC progress with Zehnder vents and ducting installed
  • Continued electrical progress
  • Septic and electrical trenching between buildings

Sealed up tight

Spread the love

We are well into March and have already had a couple blizzards (yeah). We Burton’s love snow and while it seems we are almost alone in our area, we still celebrate when we can. So, the final building hole has been filled and sealed, hence the title of the post today. Our min entry doors arrived and were installed and they are just beautiful! They are also thick. Stephanie has a fun taste in color and as you can see below, it’s going to put a beautiful pop of color after the siding get’s installed…right now it’s competing a bit with the green sheathing.

A-wing front door
C-wing front door
C-wing back door

After the doors were installed, the team quickly transitioned to plumbing and that has progressed rather quickly. We now have what looks like a nearly fully PEX plumbed house.

A-wing main utility wall, laundry room and half-bath pipes

Today was a snowy, windy, cold day. I stopped up at the site to take some measurements from the kitchen and noticed something when I walked in…it was quiet. I couldn’t believe how quicky it felt like I was “out of the weather”, with zero insulation. I looked out the windows and the trees moving and bending to the wind and expected to hear creaking from the house, of a high pitch whistle from the wind, but there was nothing. It made me long to move it, but also very thankful that there has been so much attention to detail.

Well, that’s it for now, here is what we have coming up next week:

  • Finalizing minor air sealing details in A-wing roof and C-wing walls
  • Progressing on rough in plumbing
  • Starting septic install
  • Working on A-wing electrical

That is a big door

Spread the love

This past week was filled with additional air sealing details, the start of roughing in electrical, and (drumroll…) the install of our huge south facing pieces of glass! Big shout out to Ventana USA for these beautiful windows and doors.

We have three large glass units on the south facade. Starting from the East side we have the master bedroom sliding glass door unit (96” wide), the family room non-operable unit (116” wide), and finally the main dining room sliding glass door (116” wide). These are all triple pane windows and we estimate between 500 – 600 pounds. Thankfully we took the time to remove the doors before install, but with a crew of 8 people, it was easier than expected. Let’s cover the install details a bit and follow up with some pictures.

The installation prep was very much like the other framed in windows, except the bottom was sitting on our concrete block, not wood. So, if you were on the outside of the house, the install layers consist of: concrete block -> bead of FastFlash-> vapor barrier -> bead + zig zag of FastFlash -> Window frame. The sides and top of the rough opening were coated with FastFlash the day before and the bottom was wet set just before we moved the windows into place. They will be finished with our typical backer rod and AirDam. We will also be adding some additional support between the sliding door vertical frame and the rough opening to keep that extra stable with all of the door closings over time.

You can check out a video of us moving these big windows into place.

The crew heating up the sill before first big window install as it was below 20 that morning
The wet setting prep of FastFlash for under the window/door
The muscle: crew, family, and neighbor moving the 10′ door
South wall will ALL windows installed, it’s just so beautiful!!!

As you can see, the crew also finished the other windows on the South side. Now we can officially say ALL WINDOWS ARE IN!

A common question is what’s next. So, I’ll start including our plans for the upcoming week at the end of our posts.

What’s Next

Next week we will be installing the man doors, air sealing details on the large glass from this week, finishing the liquid flashing on the garage, rough in electrical for the main building, and any other details in prep for our first blower door test.

Windows look so much better installed

Spread the love

The weather has been just right for window installs and the team wasted no time getting the openings cut and air sealed. The cutting was done with a simple handheld router and Prosoco FastFlash was used to do the air sealing over the rough framing. This was then followed up with backer rod then sealed to the frame with Prosoco AirDam. We also finished the air sealing between the wall and foundation with Prosoco Joint and Seam Filler. Let’s start with that detail to keep things in chronological order.

Air sealing wall to slab

Stephanie was in charge of cutting the under-slab vapor barrier flush with the wall and gunning out the sealant (pink), then David followed up with a spatula to create a continuous barrier ~4 inches wide spanning block and sheathing.

What a huge improvement the few holes and windows can make on a large “green canvas.” This was an exciting time for us as this was a beautiful step on our home building journey.

North A/B-wings with windows
Exterior view of installed window

Here are some shots of the sealed interior prior to any finish work.

I also need to give credit for the rest of the air sealing detail on the exterior of the house as there were MANY joints and seems that needed to be sealed. This process is critical, but since it’s on a smaller scale, it doesn’t make for great pictures. I did get a shot of the team on the lift though.

Crew applying Prosoco to exterior seams and nails

One more bonus photo. We just got excited to see the beautiful light streaming in through our upstairs windows, yeah!!!

Sealed rough openings awaiting windows, 2nd floor library and office

All about the C-wing

Spread the love

For those who haven’t heard the short story about our “wings”, when we were doing our home design, we realized very quickly that we needed to be very explicit when we were referring to locations and building and Stephanie came up with the wonderful idea to refer to the buildings using a simple A, B, C mnemonic.

A = Activities
B = Bedrooms
C = Cars

This then turned into the A-wing, B-wing, and C-wing. This has helped us through all conversations with those involved in the building project. All that so say that this post is meant to give updates on the C-wing as that has been the focus for the past few weeks.

Please note that the building style and materials are the same, but we are not trying to achieve any Passive House certifications on this wing. Let’s get into some pictures.

C-wing 2022-01-05
C-wing 2022-01-18
C-wing 2022-02-01
C-wing 2022-02-07
C-wing 2022-02-11
Build site, 2022-02-11

We can’t believe all buildings and roofs are on, we are so pumped. If you look at the pictures and the dates, you might notice major changes in February, but not so much in January. You may have guessed that the snow hit us pretty hard in January, but has let up enough now for work to accelerate. We hope to have the rest of the building joints sealed up with some warm weather next week, then the windows (yeah!).

Here is the latest drone flight from 2022-02-11: https://youtu.be/5bze6J5oiMU